Raspberry Pi, as you might already know, is an interesting board especially for the IoT hobbyists. However, to leverage its power you should ideally need an external monitor. But if you, like me, are short of budget for a monitor, you may follow the steps below to use your Pi at fullest without an external monitor :
- Download the Raspberry Pi OS with Desktop from https://www.raspberrypi.org/software/operating-systems/
- Flash the downloaded OS to your SD card using your computer (I am using Windows), I use Belena Ethcher you may try Raspberry Pi Imager as well.
- Reinsert your SD card again into your computer
- Go to boot directory (it’s the top level folder of the SD card where Raspberry Pi OS is installed)
- Right click and create a file named ssh (make sure there is no extension after it)
- Insert the SD card into your Raspberry Pi
- Connect the Pi with your computer using an ethernet cable.
- Open PuTTY
- Under host name enter: raspberrypi.local
- Port: 22
- Click open
- If everything goes right so far, you should see Raspberry Pi in a Terminal Window which just pop up.
- Login there with Login as: pi, password: raspberry
- After successful login to the Pi terminal, type the command: sudo apt-get update
- Then, sudo apt-get install -y realvnc-vnc-server
- Next, go to Raspberry pi config using the command: sudo raspi-config
- Here, first, you need to configure your WiFi network by putting WiFI credentials so that next time onward you don’t need to use the ethernet cable.
- After that, enable VNC
- That’s it from the Raspberry Pi side.
- Now you need to install VNC viewer in your computer/android device.
- Open the VNC viewer, type raspberrypi.local in the box asking input for creating new connection. Make sure your computer/android device is using the same WiFi as you set in step -17
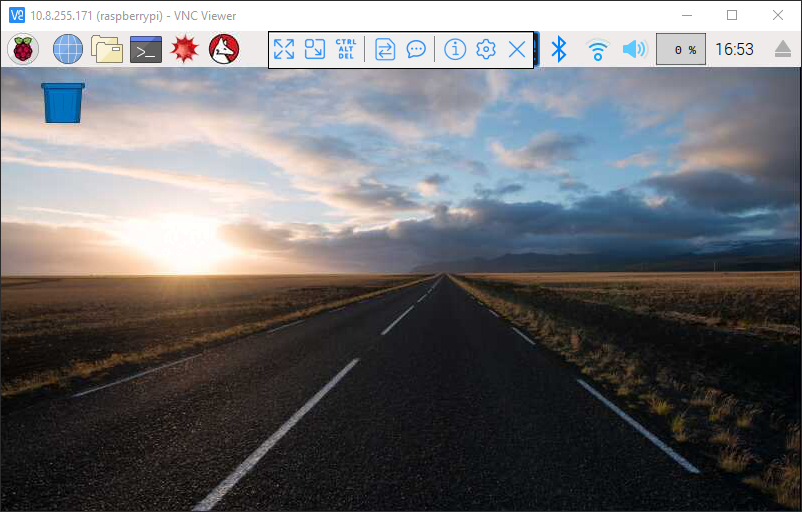
- A window will pop up and ask you to enter username and password, Username: pi Password: raspberry ,After successful connection, you should see your Raspberry PI desktop:
Nice blog. Have not read all the topics. Looks like you have a diverse set of topics. Will return to the site to read more.